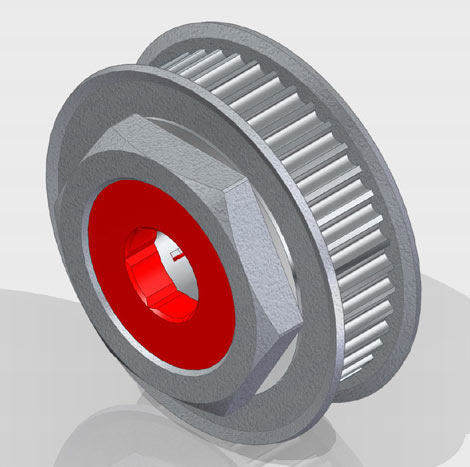
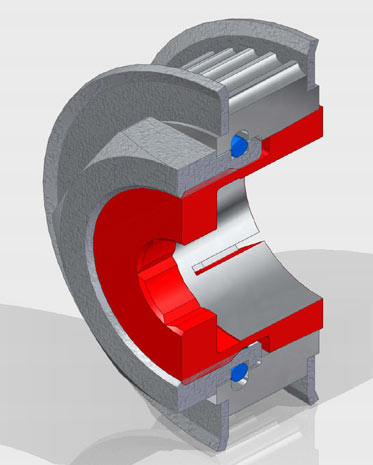
1. The basic solution
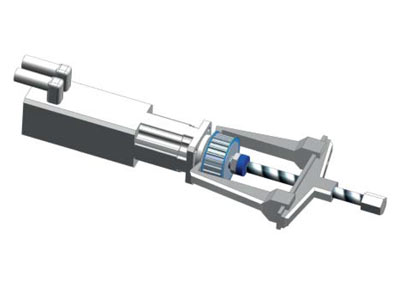
bodaTec® GmbH provides a standard toothbelt-pulley – width, number of teeth, tooth geometry, etc. based on customer specifications – with a conical inside bore matching the respective BOQA® fastening element, including the BOQA® fastening element ordered by the customer and a standard fastening nut.
For disassembly we recommend the use of a commercially available gear puller, as depicted in figure 8, to release the BOQA® fastening element retention and remove the hub module from the shaft.
We recommend the following procedure:
Unscrew the fastening nut approx. 3 full rotations (do not remove from the BOQA® fastening element thread!), then position the gear puller so that the rod applies pressure directly on the fastening nut (but not the drive shaft!) via an inserted pressure piece (shim or similar).
Pressure from the rod releases the taper retention with a crack and the belt pulley can then be manually removed from the shaft together with the BOQA® fastening element.
2. The economic solution
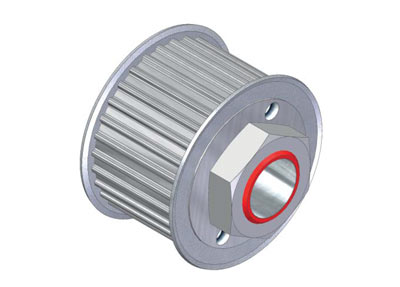
bodaTec® GmbH supplies the belt pulley ordered by the customer with two opposing threaded bores (blind bores) on the side of the fastening nut in addition to a conical inside bore matching the applicable BOQA® fastening element (see figure 9).
These bores are positioned on a pitch circle diameter for the spanner size of the fastening nut so that a socket head screw DIN 912 can be screwed into the thread on each side next to the nut‘s contact surfaces.
CAUTION:
The nut has to be loosened first by 2 - 3 full rotations before disassembly and adjusted so that the opposing contact surfaces are positioned orthogonally to the bores inside the thread.
The length of the required screws can be determined using the following rule of thumb:Thread length = nut length + 3 mm (distance between nut and the tooth lock washer‘s front surface after loosening by 2-3 rotations) + 4 mm (depth of insertion of screws in the threaded bores).
Procedure for disassembly:
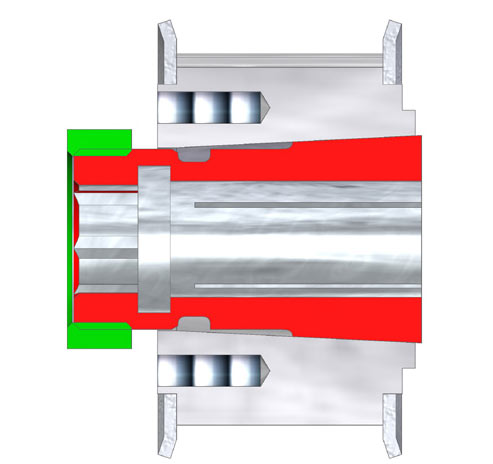
Loosen the fastening nut of the BOQA® fastening element approx. 2 - 3 full rotations (figure 10; the exact number of rotations may vary due to the thread pitch of the respective nut) leaving a space of 2 - 4,5 mm between nut and front surface of the belt pulley.
Then align the fastening nut in a way that two opposing contact surfaces of the hex nut are positioned orthogonally to the two bores inside the thread (figure 10).
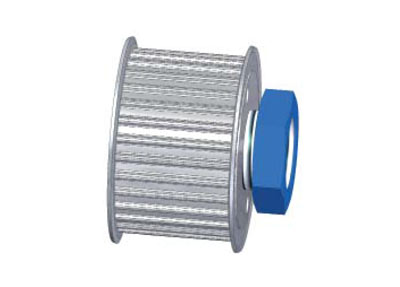
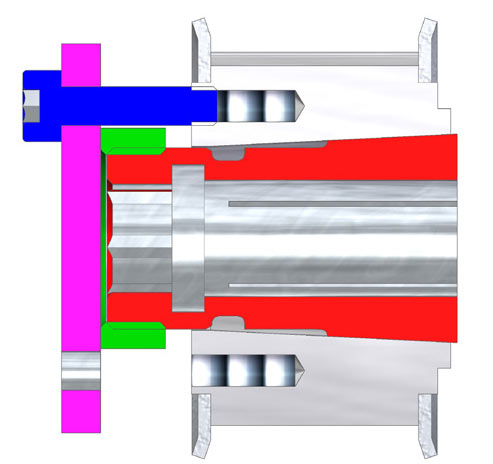
Now manually screw the first socket head screw (DIN 912) into the thread until the lower edge of the cylindrical head is aligned with the front surface of the hex nut (figure 11).

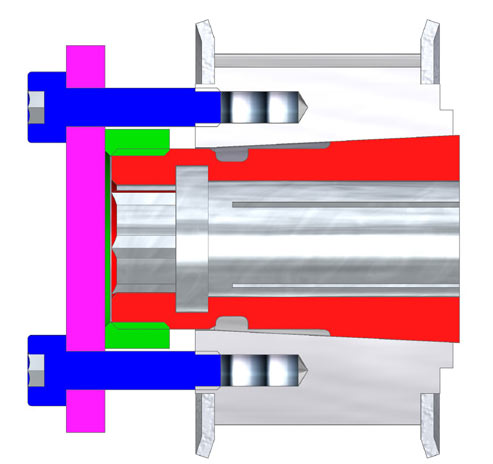
Then manually screw the second socket head screw (DIN 912) into the thread until the lower edge of the cylindrical head is aligned with the front surface of the hex nut (figure 12).

Tighten both screws evenly using a hex key until the retention of the BOQA® fastening element comes loose with an audible crack.
The belt pulley module can then be removed manually from the shaft without any damage (figure 13).

CAUTION:
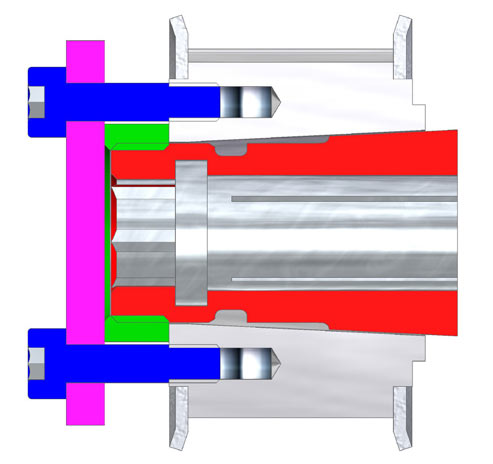
Smaller belt pulley assemblies that require forcing thread screws with an M3 thread also require the use of an additional forcing plate (see figures 15 - 17) to prevent the forcing screws from shifting out of position and to make the disconnection procedure reliable and safe.
3. The premium solution, more expensive but with the easiest handling
bodaTec® GmbH has created a method to release the taper‘s retention together with the fastening nut.
In this approach the mechanism for releasing the retention is already integrated into the belt pulley module.
Tightening the fastening nut causes the required hub clamping on the shaft, loosening the fastening nut releases the retention when it is unscrewed even further.
Note: This substantially reduces maintenance time and outlay and prevents damage when disconnecting the shaft and hub
